Tap Water vs. Treated Water: What Actually Comes Out of Your Faucet in Central Valley

Aqua Premier Whole Home Water Treatment LLC was founded with the mission of helping families and businesses enjoy cleaner, healthier water
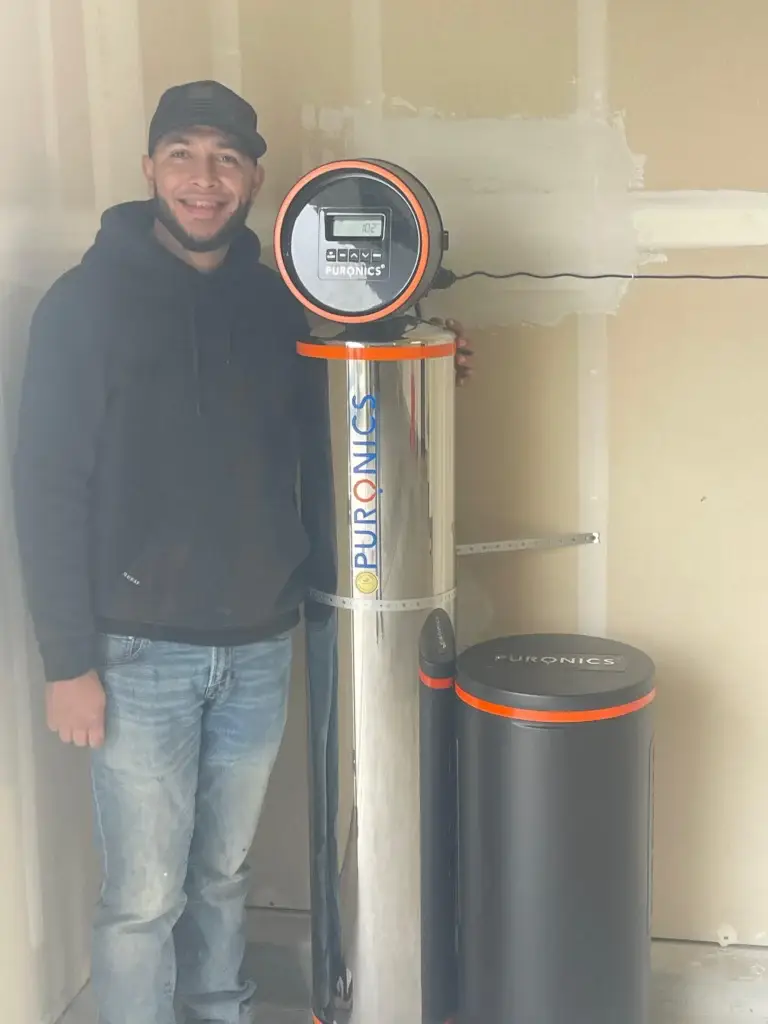
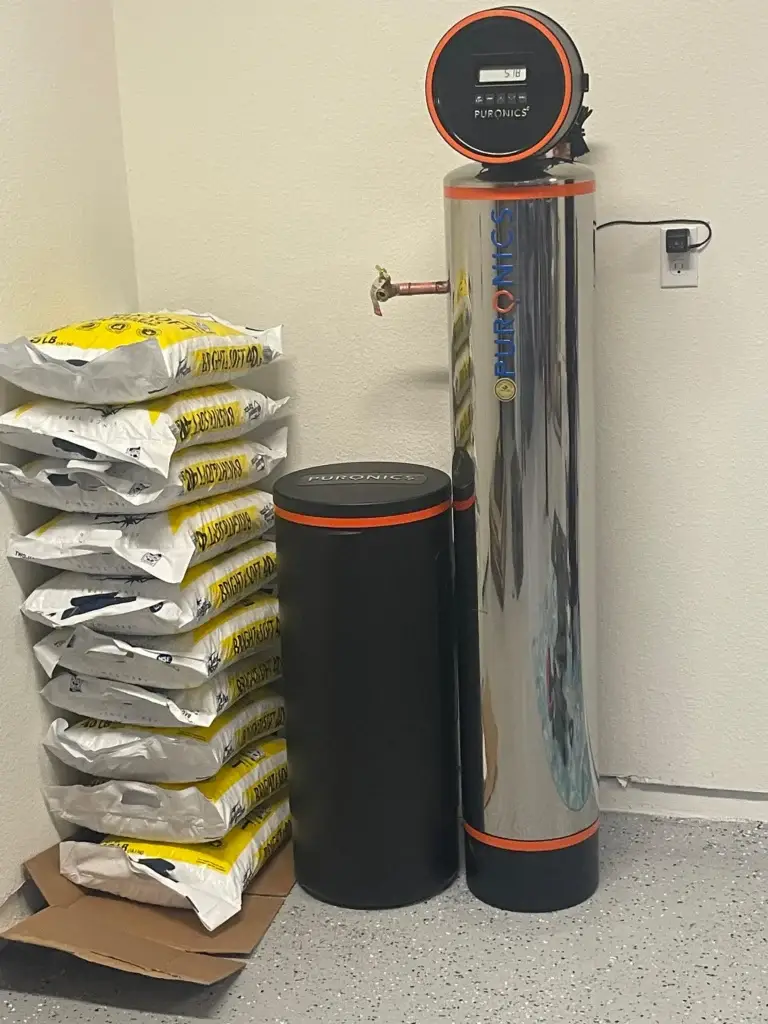
Our experts will evaluate your water conditions and recommend the best solution to improve the quality of water in your home or business.
If you’ve scheduled a water softener installation — or you’re thinking about it — one of the most common questions homeowners have is simple: what actually happens on installation day? How long does it take? Will you need to shut off water to the whole house? Is there anything you need to prepare?
This guide walks you through the entire process, step by step, so you know exactly what to expect when the Aqua Premier team arrives at your door.
A water softener installation doesn’t start on the day of the visit — it starts with a proper assessment of your home and water supply. Before any equipment is brought in, our team conducts a water quality evaluation to determine:
This step is critical. A system that isn’t properly sized for your home will either underperform or regenerate too frequently, wasting salt and water. Getting the assessment right means your system works efficiently from day one.
On installation day, the Aqua Premier team arrives with everything needed to complete the job — you won’t need to purchase any additional materials or parts. A standard installation includes:
The team will also review your home’s plumbing layout briefly before beginning work to confirm the installation point and drain access.
The first step is shutting off the main water supply to your home. This typically takes only a few minutes and is necessary to safely connect the new system to your plumbing. The water will be off for the duration of the installation — usually one to three hours for a standard residential job.
The softener needs to be placed on the supply side of your plumbing — before the water heater — so that all water entering the home is treated. The ideal location is:
If your home has an existing bypass or older unit being replaced, our team will remove it and prepare the connection points before installing the new system.
This is the core of the installation. The softener is connected to your main water line using a bypass valve assembly — a critical component that allows you to route water around the system if maintenance is ever needed, without shutting off water to the entire house.
The drain line is then run to a nearby floor drain or utility sink. This line carries the brine solution away during each regeneration cycle. Proper drain line installation matters — an incorrectly routed line can cause backflow issues or odors over time.
Once the physical connections are complete, the brine tank is filled with salt and the control head is programmed to your household’s specific settings:
Puronics systems like the IntelliSoft use demand-initiated regeneration, meaning the system monitors actual water usage and only regenerates when needed — not on a fixed schedule. Your technician will explain how to read your system’s display and adjust settings if your household usage changes.
With everything connected and programmed, the main water supply is turned back on. The technician runs water through the system and checks every connection point for leaks. A treated water sample is then tested on-site to confirm the system is removing hardness minerals at the correct level.
You’ll notice the difference quickly — within the first day or two, the water throughout your home will feel noticeably softer.
Once your system is running, there are a few things worth knowing for the days and weeks ahead:
Your Aqua Premier technician will walk you through all of this before leaving — and we’re always available by phone if questions come up after the installation is complete.
For a standard residential water softener installation, plan for two to three hours from start to finish. Homes with older plumbing, unusual installation locations, or systems being replaced may take slightly longer. Commercial installations vary depending on the size and complexity of the property.
A water softener installation is one of the most straightforward home upgrades you can make — and when it’s done right, it’s a system you won’t have to think about again for years. At Aqua Premier Homes, we handle every detail from the initial water assessment to the final system test, so you can feel confident the job is done correctly the first time.
Serving homeowners and businesses across Merced, Stanislaus, Monterey, San Benito, Madera, and San Joaquin Counties, our team is ready to walk you through the process and get your home on treated water as quickly as possible.
Ready to schedule your installation? Contact Aqua Premier Homes at (209) 979-9001 or visit our website to request your free consultation and quote.

Professional water softener installation, water filtration systems, and maintenance services tailored to meet your specific water needs.
We are proud to be licensed and insured professionals, giving our clients confidence and peace of mind when choosing our services.